44+ How Do You Replace The Drum On A Brother Printer Info
How do you replace the drum on a brother printer. Unpack the new drum unit. Open the front cover. Reinstall the new drum unit keeping the front cover open. When the LCD shows Accepted close the front cover. Push down the green lock lever and take the toner out of the drum. Unbox your new drum unit. First pull out the drum cartridge and set it on a paper towel on the table. Make sure that the printer is on and press open the front cover. Replacing the drum unit. To find it simply open the front flap of your laser printer and find the toner cartridge s which the drum unit will be attached to or beneath. To confirm you are installing a new drum unit press the UP ARROW key. To remove the toner from the drum unit simply push down on the bluegreen plastic lever and gently pull the toner out.
The part number for the drum unit is DR-420. Make sure to recycle your old drum cartridges to reduce your environmental impact. Unpack the new drum unit. Remove the toner cartridge and drum unit from the machine. How do you replace the drum on a brother printer Put the toner cartridge firmly into the new drum unit until you hear it lock into place. How to replace the drum unit. Wait to unpack a drum unit until immediately before you put it in the printer. Remove the toner cartridge and drum unit from the machine. As you will not need to replace the drum every time you replace your toner cartridge your drum will. Pull out the assembly. Looking at your toner and drum unit assembly push down the green lever to release the toner cartridge from the old drum unit and install it into your new drum unit. Open the front cover of your Brother printer to expose your toner and drum unit assembly. Remove the toner cartridge and drum unit assembly from the machine.
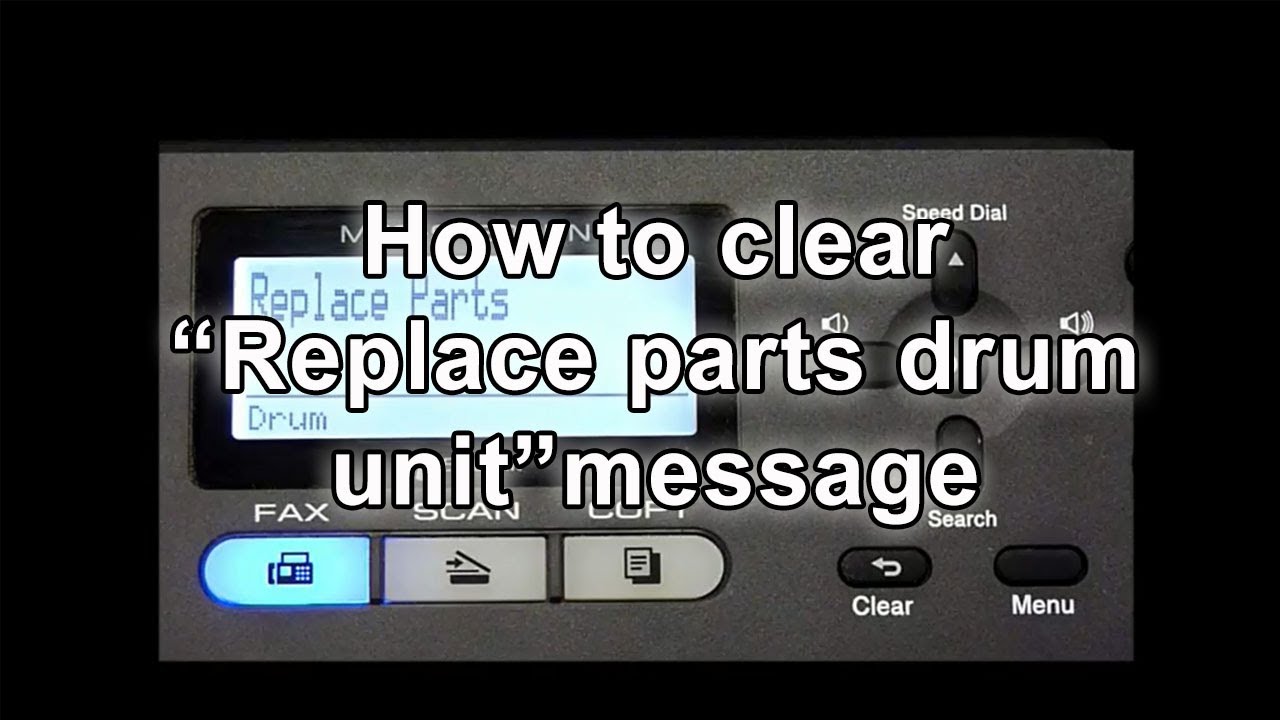 Clear Message Replace Parts Drum Brother Mfc 9460cdn Mfc 9560cdw Youtube
How do you replace the drum on a brother printer Exposure to direct sunlight or room light may damage the drum unit.
How do you replace the drum on a brother printer. When you replace the drum unit with a new one you need to reset the drum counter. Push down the green lock lever and remove the toner cartridge from the drum unit. Make sure that the machine is turned on.
Push down the green lock lever and take the toner cartridge out of the drum unit. Push down the green lock lever and remove the toner cartridge from the drum unit. In general look for a front or back door on the printer that opens to reveal the toner and drum unit.
Press and hold the green Go button for 5 seconds until you see Drum Clear. First you will need to remove the old drum and replace it with the new one. Turn on the printer.
Make sure that the printer is on and open the front cover. Be sure to return the tab to the home position if you do not printed pages may have a vertical stripe. Remove packaging from the new cartridge and insert it taking care to remove any plastic covers or film.
DO NOT reset the drum counter when you only replace the toner cartridge. When you replace the drum unit with a new one you need to reset the drum counter by completing the following steps. Unpack the new drum unit.
The drum unit is the plastic tray with a shiny cylinder that the toner cartridge sits in. Removing Replacing the Drum and Toner on a Brother Printer. How to find remove and replace the Brother drum unit For Brother printers the drum unit is usually connected to the toner cartridge.
Remove the toner and drum assembly from the machine. The Brother machine uses a drum unit to create print images on paper. Hit the drum reset button if the printer has one and close it up.
Removing Replacing the Drum and Toner on a Brother Printer - YouTube. While the front cover is open press Clear. Put the drum unit and toner cartridge assembly back in the machine.
Make sure the machine is turned on and open the front cover. Close the front cover. The procedure for replacing the drum unit varies on your printers brand and model.
Open the front cover. The message Replace Drum will be displayed on the Brother machine or status monitor when the drum has reached the end of its life and needs to be replaced.
How do you replace the drum on a brother printer The message Replace Drum will be displayed on the Brother machine or status monitor when the drum has reached the end of its life and needs to be replaced.
How do you replace the drum on a brother printer. Open the front cover. The procedure for replacing the drum unit varies on your printers brand and model. Close the front cover. Make sure the machine is turned on and open the front cover. Put the drum unit and toner cartridge assembly back in the machine. While the front cover is open press Clear. Removing Replacing the Drum and Toner on a Brother Printer - YouTube. Hit the drum reset button if the printer has one and close it up. The Brother machine uses a drum unit to create print images on paper. Remove the toner and drum assembly from the machine. How to find remove and replace the Brother drum unit For Brother printers the drum unit is usually connected to the toner cartridge.
Removing Replacing the Drum and Toner on a Brother Printer. The drum unit is the plastic tray with a shiny cylinder that the toner cartridge sits in. How do you replace the drum on a brother printer Unpack the new drum unit. When you replace the drum unit with a new one you need to reset the drum counter by completing the following steps. DO NOT reset the drum counter when you only replace the toner cartridge. Remove packaging from the new cartridge and insert it taking care to remove any plastic covers or film. Be sure to return the tab to the home position if you do not printed pages may have a vertical stripe. Make sure that the printer is on and open the front cover. Turn on the printer. First you will need to remove the old drum and replace it with the new one. Press and hold the green Go button for 5 seconds until you see Drum Clear.
Indeed lately has been hunted by consumers around us, maybe one of you. People now are accustomed to using the net in gadgets to see image and video information for inspiration, and according to the title of the article I will talk about about How Do You Replace The Drum On A Brother Printer.
In general look for a front or back door on the printer that opens to reveal the toner and drum unit. Push down the green lock lever and remove the toner cartridge from the drum unit. Push down the green lock lever and take the toner cartridge out of the drum unit. Make sure that the machine is turned on. Push down the green lock lever and remove the toner cartridge from the drum unit. When you replace the drum unit with a new one you need to reset the drum counter. How do you replace the drum on a brother printer .
How do you replace the drum on a brother printer
How do you replace the drum on a brother printer. Open the front cover. The message Replace Drum will be displayed on the Brother machine or status monitor when the drum has reached the end of its life and needs to be replaced. Open the front cover. The message Replace Drum will be displayed on the Brother machine or status monitor when the drum has reached the end of its life and needs to be replaced.
If you are looking for How Do You Replace The Drum On A Brother Printer you've arrived at the ideal place. We have 51 graphics about how do you replace the drum on a brother printer adding pictures, photos, photographs, wallpapers, and more. In these page, we additionally provide variety of images available. Such as png, jpg, animated gifs, pic art, logo, blackandwhite, translucent, etc.
 How To Reset Your Brother Mfc 8510dn Drum Counter Print Save Repeat
 My Printer Says Replace Drum Full Fix